Friday, April 20, 2012

dying yarn with food color?

Yes this really works! 
I absolutely love how easy it is to dye wool yarn with food color. 
All you need is a skein of wool yarn, vinegar, food color of choice, and a pot. 
I fill the pot most way with water, then add about a cup of vinegar. Then the dye I want this time I used two different colors to get a pretty purple. 

Give it a swish so all the dye and water mixes up, and then add your yarn. I only wanted half of my yarn dyed purple, and to leave the other side natural. If you want the whole skein one color, put that whole sucker in there! You could also drape the yarn into two pots of two different colors. Totally up to you! 


Boil until the water comes clear, I use a white spoon to see. 


I like to pull it up every now and then to see the color. But you don't have to. 

(As you can see no dye bleeding off) 

 Once the water goes clear I let it sit for a few minutes to cool so I don't burn myself. Then I pull it out and give it a cold water rinse. A tiny bit of dye will run off, but really you shouldn't see much dye rinsing off. Once I rinse it off, I give the entire skein a cold water soapy soak. I use Dawn dish soap normally. Nothing special.  After a nice soak I let it dry! 


There you go, this is completely wash-able. I always hand wash when its a hand-spun 100% wool yarn, but Im sure you could machine wash it... I just wouldn't, hate felting! I've never had any trouble with color bleeding, and I use this method to dye very often. 


Pin It Now!

Wednesday, April 18, 2012

Easy Geekling Onesie

My husband and I have jokingly dubbed our unborn daughter our "Geekling". I decided I wanted her to have a onesie that said Geekling on it. I found one online but it was $18.50 and in boy colors. So I decided to make her one at home! This will be part of her coming home outfit. 

It was pretty simple to make. Gather supplies, I bought Purple Chimp Print & Iron cotton fabric sheets. So I could easily print out the design I wanted and just iron it on. Note* The only thing I do not like about this product is it is not machine washable. Yet for some reason you can tumble dry it. I might experiment and see if you can machine wash it, who knows. It really was simple! 

 You need an iron, your design printed out and cut the way you would like, and of course something to iron it onto! Set the design the way you would like, and iron it down for about 30 seconds. Make sure all the edges are down tight. 

and tada! 


I think Im going to add some matching stitching around the edge of the white. I think that would spice it up. 

There you go, just a fun idea. 
Pin It Now!

Sunday, April 15, 2012

Tie-Dye baby things

Im expecting a little girl in July, and decided to get a little bit crafty for her. So I decided to tie-dye a whole bunch of socks and onesies for her.  I dont have much detail on how I did this since really I just got out the dye and started playing around. I got a tie-dye kit. This one. 
Then I pulled out some infant cotton socks, and a few Gerber onesies and t-shirts. And rubber banded them at random. Then just dyed away. My husband said I got more dye on me than on the clothes. Here is how they all turned out. It was a lot of fun. 


These just happen to be my favorite. 


I had fun, I know its not a new idea but it was easy. After it had all set for 8 hours I just tossed them all in the washer on cold. Of course I didn't wash them with anything else but the other newly dyed things! But after a good wash they came out nice. I did leave the rubber bands on for the washing, and took them off before putting them in the dryer. 
Pin It Now!

Wednesday, March 14, 2012

Cotton Spinning

Adventures in Cotton spinning! 

I decided to try my hand at spinning cotton recently. So I hopped on ebay and ordered a sliver of, "Red, green and white" cotton.  I as very excited to play with it. 


I spin on a single treadle lendrum. Here it is covered with the cotton while I prepared. 


The staple of this is very short, and I found stripping it into very thin pieces made spinning it easier. It still came out just a little lumpy and bumpy, but I like it that way. 


Here is the single before plying. 

Still on the spool while plying. I love how it looks.  Once plied cotton needs to be boiled, to set the twist. I boiled it for about twenty minutes. 


Still wet after boiling. The color deepens after being boiled. Though once dry it wasnt a very dramatic change in color. 

Dried after boiled. 


And there you have it, if you have any questions feel free to ask. 

Pin It Now!

Thursday, March 8, 2012

For the Love Of Owls.

I am expecting a little girl in July, and I have decided to do an owl theme in her bedroom. So this week I couldn't help but craft something up. 

 Step one, gather supplies. I got a 16x20 stretched canvas, some pretty textured card stock. Also some glitter, and paint. 
Not shown was also a sharpie, and some scissors of course. After I painted the canvas my desired color. I cut out some construction paper letters to test what size I wanted them. That way I didn't waste any card stock. 


Then I used these test letters to make the card stock letters. I traced with a sharpie on the back side of the card stock, so no sharpie shows in the finished piece. 


Then I glued the letters down on the canvas and let that dry. While I did the fun part! Making the owls! 


I did the same process of making the letters, sketched the owls pieces on the back side of the card stock. Then cut each piece out and hot glued them together. The hot glue made each piece a little raised. I liked the effect. 

Put your owls where you desire and hot glue those suckers down. And tada finished! Its really easy. But looks so cool. I cant wait to hang it up. 


Pin It Now!

Monday, November 7, 2011

Beaded Tunisian Crochet Scarf

I decided to make a Tunisian stitch crochet scarf, but I'm all about adding extra pretty touches. This is what I came up with!

It is very easy to do, if you don't know how to Tunisian crochet there is a very simple tutorial on youtube,from Crochet Geek

Get yourself some beads, make sure they fit the yarn of your choosing. I picked some purple and black glass beads.


make sure they are large enough to move freely on the yarn. 

String them on your yarn, make sure to put on plenty as you cant add more later. I put on about 200 maybe a little more. 


I picked this black glittered worsted weight yarn (for the life of me I cant remember the brand)


This is the hook I am using. 


I add the beads as Im casting on, rather than off. So I push the bead up against the hook 


Yarn over and pull through. 

And the bead is secure! 

I'm sure you could change the way you add the beads. I've been adding my beads at random every few rows.  

Happy crocheting! 

Pin It Now!

Monday, July 11, 2011

Dye your own yarn!

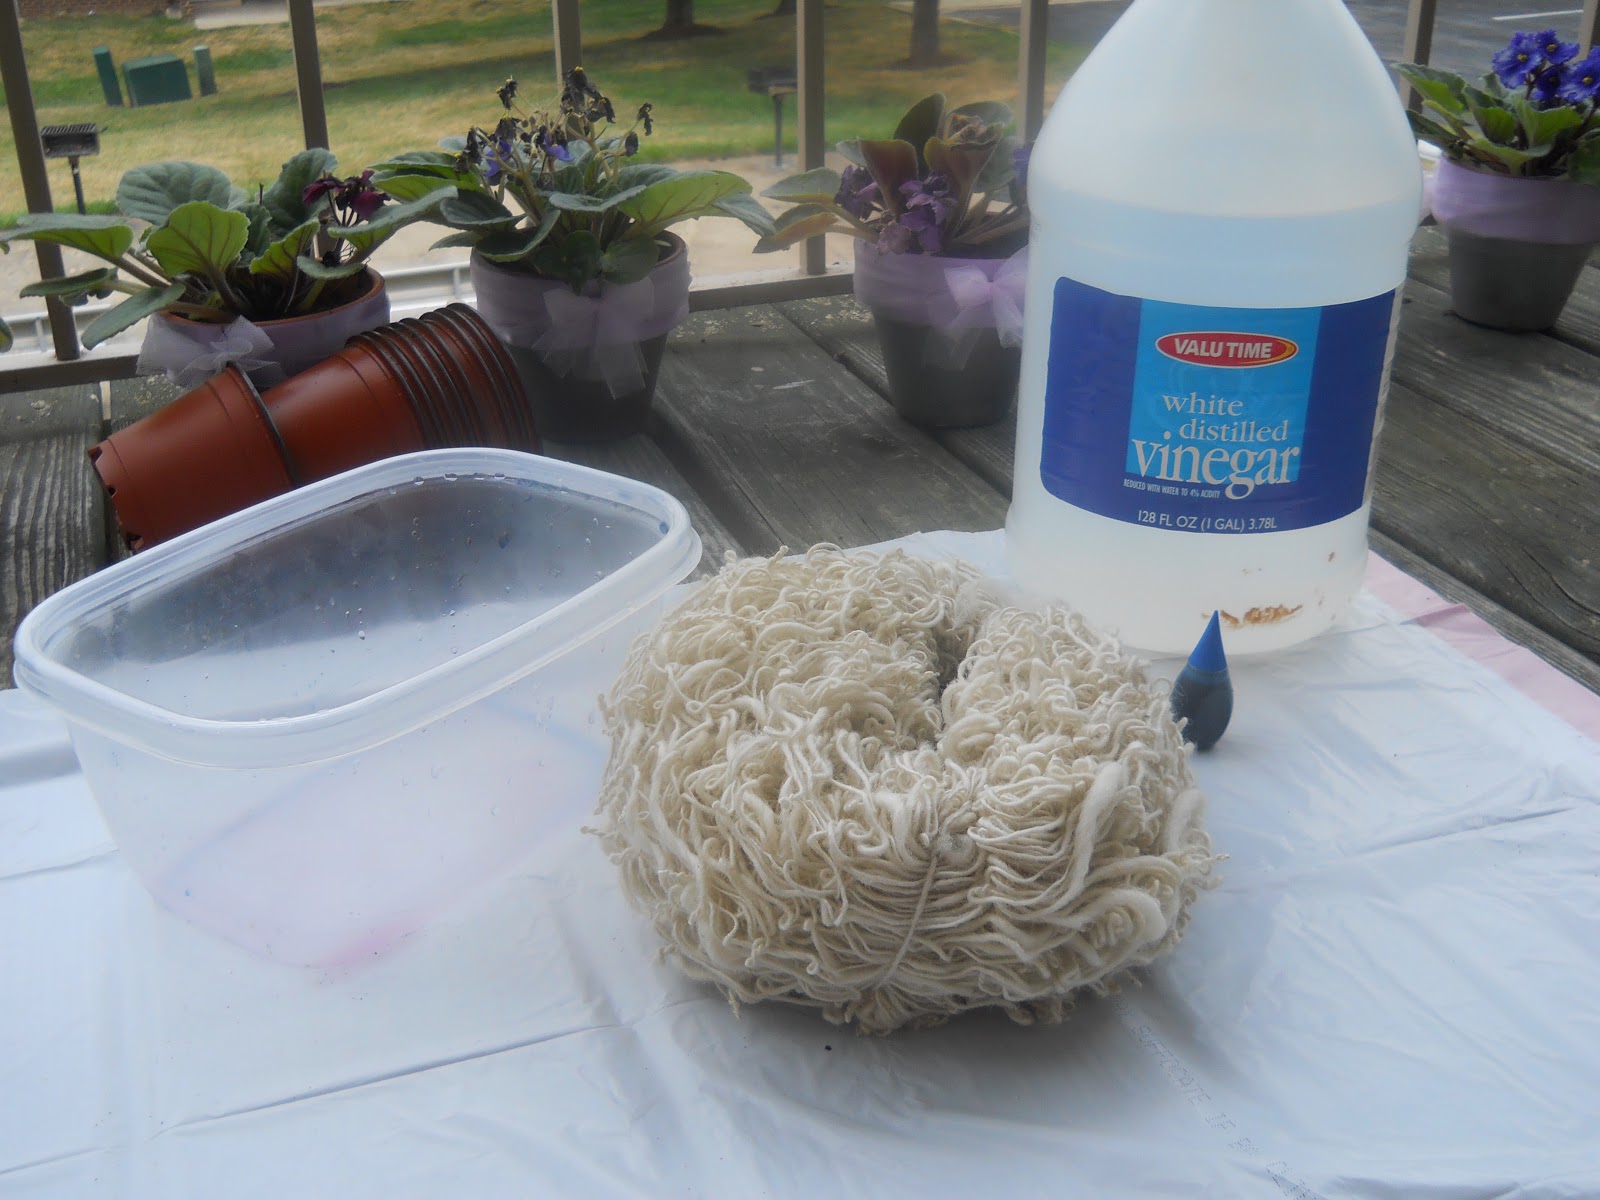
I learned a new way of dying yarn. Ive been spinning for years, but have never really done a whole lot of dying. All you need for this is food  color, of your choice, vinegar, and some wool (or 100% wool yarn) You can dye one its spun or before depending on how predictable you want your colors. (It still wont be extremely predictable)
I started with this, its a mohair blend I spun and made into a hank.
You will need a trash bag (it will come in handy trust me) and a tupperware container along with the vinegar and food color. Soak the yarn (or wool) in vinegar, just until its saturated.

I dripped the color randomly over the whole thing, flipped it over and did the other side. Then roll the yarn up in the trash bag, and roll it back and forth in order to dye the whole thing.
Here it is once its unrolled.

You may want gloves....
I put it back in the tupperware, covered it, and microwaved it for about a minute or two. Then gave it a cold water rinse. Then let it dry.
The colors were very variegated, but I think its beautiful.
Then I put it into a ball to ply it with a very nice grey angora yarn I'd already spun.


There it is all finished. Now to find a project for it....

Happy spinning.

Pin It Now!